Why the ramp matters more than we think
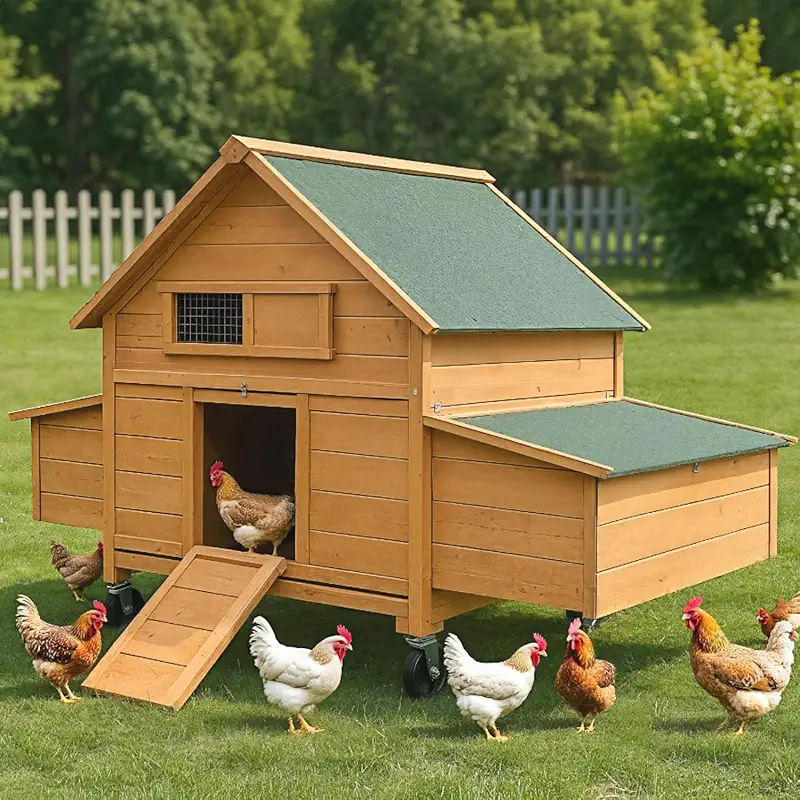
When people visit my little farm, they often look at the coop, the nest boxes and the big feeder. Very few notice the ramp. Yet that narrow path carries every hen, every egg and every sleepy evening routine. If the wooden chicken coop ramp is wrong, you usually see:
- Hens jumping off instead of walking down.
- Pullets hesitating at the top step at dusk.
- Old girls choosing to sleep under the coop instead of inside.
- Scuffed shanks and missing scales on legs.
I saw all of these in my early years. The change came when I started designing the ramp first, and the rest of the coop around it, instead of the other way around. Once the ramp felt gentle, the whole flock relaxed.
The three pillars of a good wooden chicken coop ramp
After many trials, I keep coming back to three main points every time I look at a new ramp: angle, grip and width. When those three feel right, the rest usually follows.
1. Angle: gentler than you think
A steep ramp looks tidy and saves space, but it is hard on joints and scary for light hearts. With my flock, I aim for something that feels like a slow hill, not a ladder. As a rule of thumb:
- If the pop door is low (about knee height), the ramp should still reach out well beyond the coop edge.
- If the coop is high, the ramp must be longer than you first imagine, or built in two sections.
- When you stand beside it, you should feel that you could slowly walk down it in socks without slipping.
On one old coop, I had a steep ramp. The young birds ran up and down with no fear, but my big Orpington hen, Bluebell, always chose to fly down instead. One wet morning she landed badly and limped for weeks. Since then, I never ignore the heavy birds when I judge a ramp.
2. Grip: more than just little cleats
The wood itself matters. Very smooth, varnished boards may look nice, but they become slippery with mud or frost. Bare, slightly rough boards give better grip. Then come the treads, or cleats.
I like treads that are:
- About the thickness of your little finger, not big blocks.
- Rounded at the top so they do not bruise feet.
- Spaced just right: around one chicken step apart, not too far, not back-to-back.
On my current favorite wooden chicken coop ramp, the cleats are spaced so that a hen can always place one foot on a cleat and one on the flat wood. This seems to give them a nice sense of control, especially when they are moving slowly in the dark.
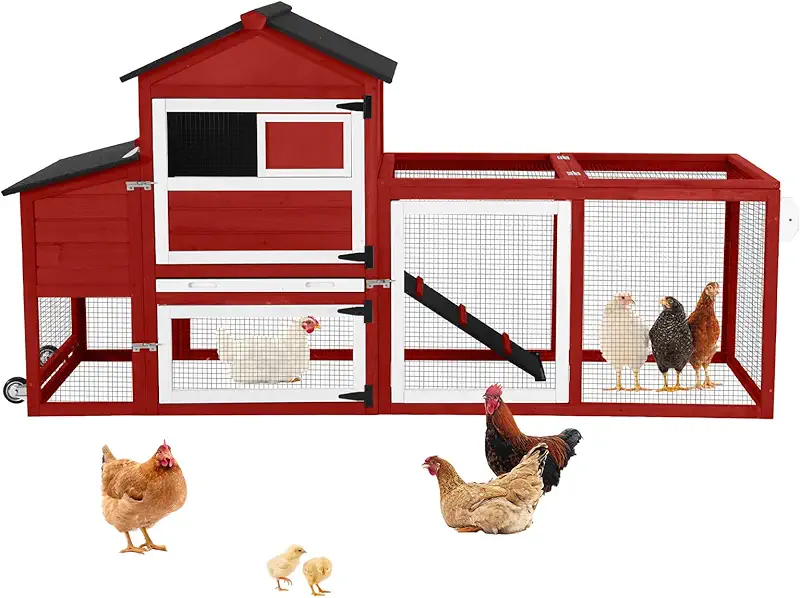
3. Width: space for two hens to pass
Chickens are social, but they can also be bossy. I learned this watching my ramp at bedtime. The dominant hen often slows at the door, checking who is already inside. If the ramp is narrow, smaller hens crowd behind her with no room to pass, and stress builds.
I now aim for a width that:
- Lets two hens pass each other without pushing.
- Gives large breeds enough room to plant their feet comfortably.
- Feels like a small walkway, not a tight plank.
When you look at a new ramp online, I encourage you to imagine your heaviest hen standing sideways on it. If her tail would hang in the air, it is probably too narrow. Some of the wooden ramps available strike this balance quite well.
Choosing a wooden chicken coop ramp that fits your flock
Not every flock needs the same ramp. A group of light, flighty birds can manage steeper climbs, but a mixed flock, with older hens and heavy bodies, needs a kinder path. When I help friends choose a ramp, we always start with three questions.
Question 1: How high is your coop entrance?
Take a simple tape measure and note the height from ground to pop door. That number guides everything. A higher door needs:
- A longer ramp, so the angle stays gentle.
- Stronger support under the middle, so it does not flex.
- Possibly a landing halfway, especially for older birds.
When you look at a wooden chicken coop ramp product, compare its length to your measured height. If the ramp is only a little longer than the height, it will be steep. I like it when the ramp length is at least twice the height, and often more.
Question 2: Who are your slowest hens?
Do not design for the strongest bird; design for the slowest. Think about:
- Older ladies with stiff joints.
- Heavy breeds like Orpingtons or Brahmas.
- Rescue hens that have not had much space before.
I have one old rescue hen, Hazel, who walks like she is thinking about every step. When I test a ramp with my hand, I imagine how it would feel to her legs. If it feels rushed, I know I must change something. A ready-made ramp with softer angle and close, gentle treads is usually the safest choice for birds like Hazel.
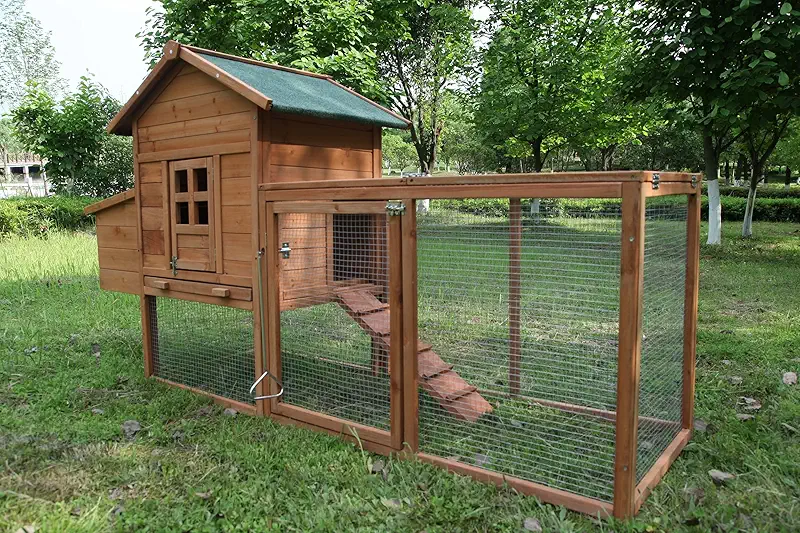
Question 3: What is your weather like?
Wood is honest. It swells, dries, cracks and carries the story of your seasons. But some details help it age more kindly:
- In wet areas, I like ramps with strong, treated side rails and good drainage under them.
- In snowy places, I choose deeper treads and sometimes add a light strip of coarse sand on top.
- In hot, dry climates, I look for solid wood that will not twist when the sun bakes it.
A simple clear, animal-safe seal can help the ramp last longer, but I avoid thick glossy finishes, because they get too smooth when wet. Natural-looking ramps often perform the best.
How I set up a new wooden chicken coop ramp (step by step)
Let me walk you through the simple routine I now follow whenever I install a new ramp, whether it is homemade or one of the ready-made wooden ramps.
Step 1: Lay it flat on the ground first
Before attaching anything, I place the ramp flat on the ground in front of the coop and invite a few curious hens to explore. I sprinkle a light line of their favorite treats along the treads. This way, they learn the feel of the wood without the worry of height.
Step 2: Find the softest angle you can
Then I lift the top end to the pop door and slowly walk the bottom away from the coop until the angle looks gentle. I watch my own body: if I feel tempted to push it closer “just to save space,” I make myself stop and leave it where it is kinder.
Step 3: Make the bottom calm and steady
A ramp that rocks even a little will scare careful hens. I:
- Press down firmly on the lower end with my foot.
- Add a support block or paving stone under it if the ground is uneven.
- Backfill around the base with compacted soil or small gravel.
If my own body feels a tiny wobble when I test it, I know my hens will feel it ten times stronger.
Step 4: Watch the first bedtime
The real test comes at dusk. I stay nearby but quiet, and just watch:
- Who rushes up, and who hesitates.
- Where feet slip or search for a tread.
- Whether anyone chooses to jump off instead of walk.
If I see a hen pausing halfway, staring down, I do not blame her. I adjust the ramp the next day, maybe lowering the angle or adding another cleat. The ramp is there to serve their bodies, not my idea of what looks tidy.
Little comforts that make a big difference
Over time, I have added small details that my birds seem to appreciate.
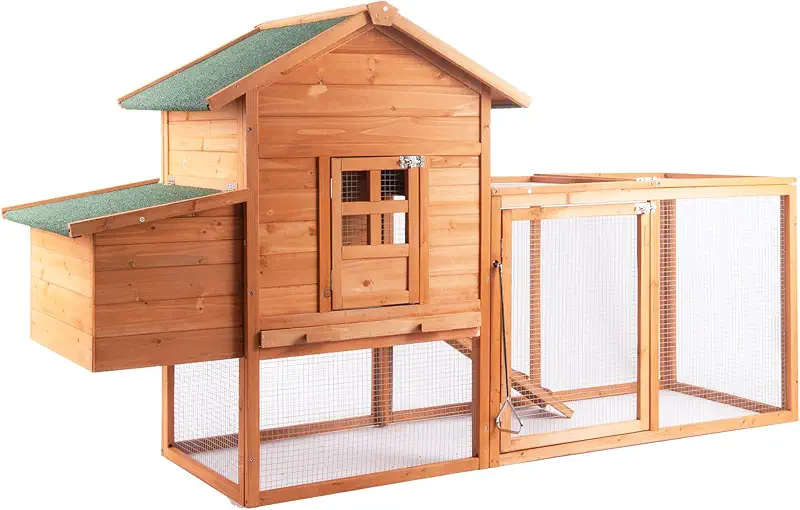
Side edges or low rails
Some wooden chicken coop ramp designs include shallow side rails. They give hens a sense of boundary, which can be calming, especially in wind or when there is activity around the coop.
Soft landings at top and bottom
I like to keep a strip of fine gravel or sand at the base of the ramp, not hard concrete. At the top, I make sure there is one calm step inside the pop door before the birds must turn or jump up to a roost. Sudden changes make them rush, and rushing leads to slips.
Seasonal checks
At the change of each season, I kneel down next to the ramp and check:
- Are any screws working loose?
- Have the treads worn smooth?
- Is the wood starting to crack or splinter?
I run my hand along it the same way a hen’s foot would move. If I find a rough edge that could cut skin, I sand it gently. A few minutes of care twice a year keeps the ramp safe for a long time.
New ramps, shy hens: how to help them learn
When I swap an old ramp for a new one, there is always a little confusion. Chickens like what they know. Here is what I do to make the change gentle:
- Introduce the new ramp in daylight, never right before bedtime.
- Let them walk on it flat first, with a few treats.
- Stay nearby the first two evenings, speaking softly if they hesitate.
- Resist the urge to carry them. Instead, guide them slowly with your voice and presence.
Within two or three nights, my flock usually steps on the ramp as if it had always been there. The key is patience and calm. They feel our energy more than we think.