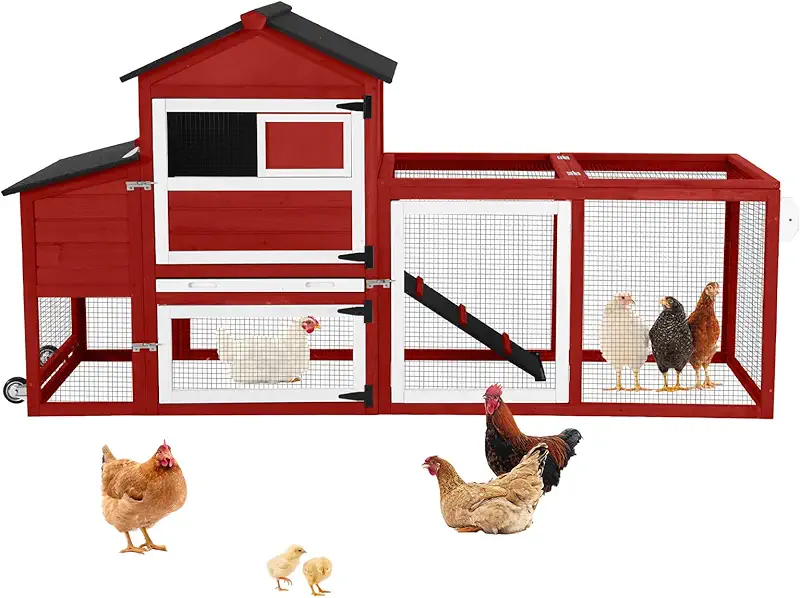
Wooden chicken coop kit
I keep hens the way my grandparents did: with patience, simple tools, and a lot of quiet care. A good wooden chicken coop kit does half the work for you, if you choose it with your heart and your head.
Everything I share here comes from early mornings with a warm mug, listening to the girls cluck while I check the hinges, latches, and nest boxes of my own wooden coops.
Why a wooden chicken coop kit feels like home for your hens
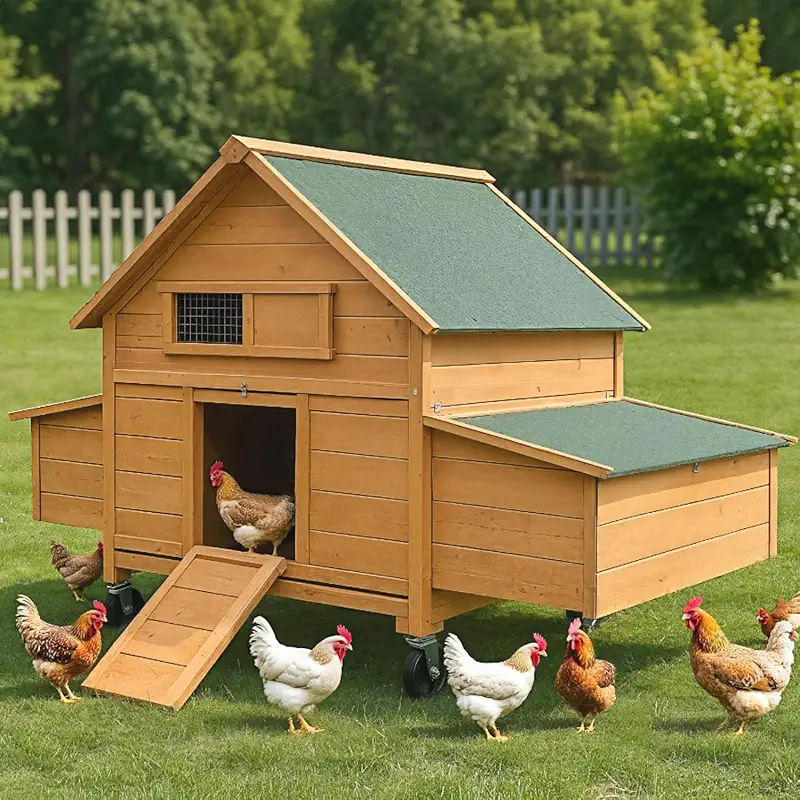
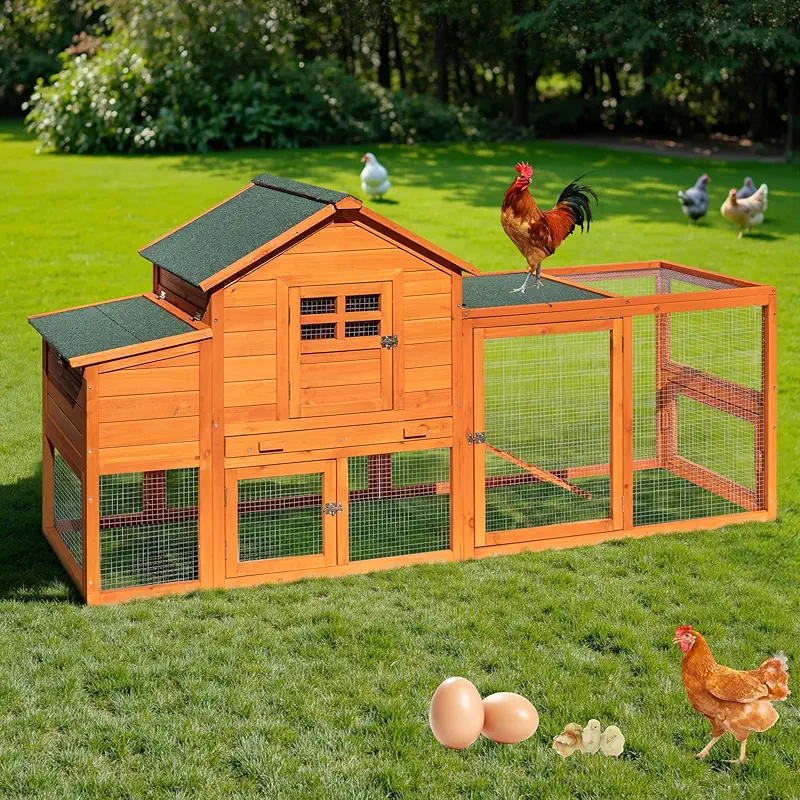
When people visit my little farm, they always walk toward the wooden coop first. It looks like a tiny cottage, with warm boards and a gentle smell of dry wood and clean straw. The hens are calm there. They dust bathe, chatter softly, and hop up to their roosts when evening comes, as if the coop were a safe old friend.
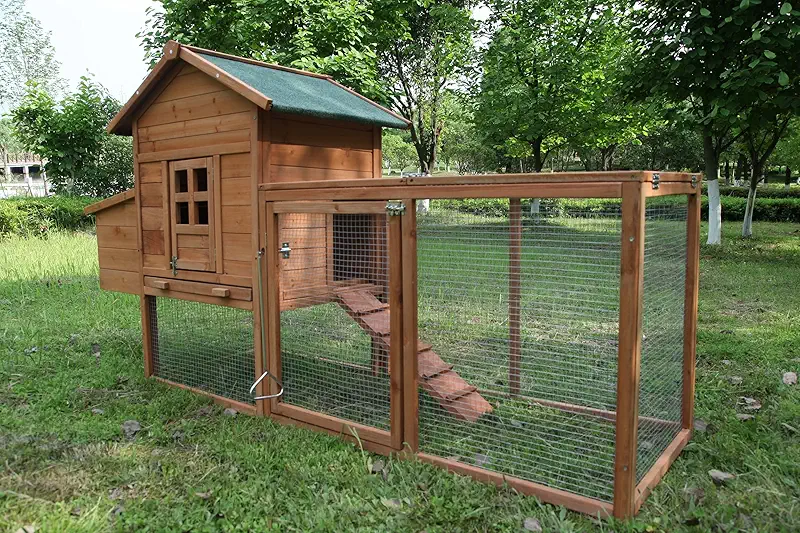
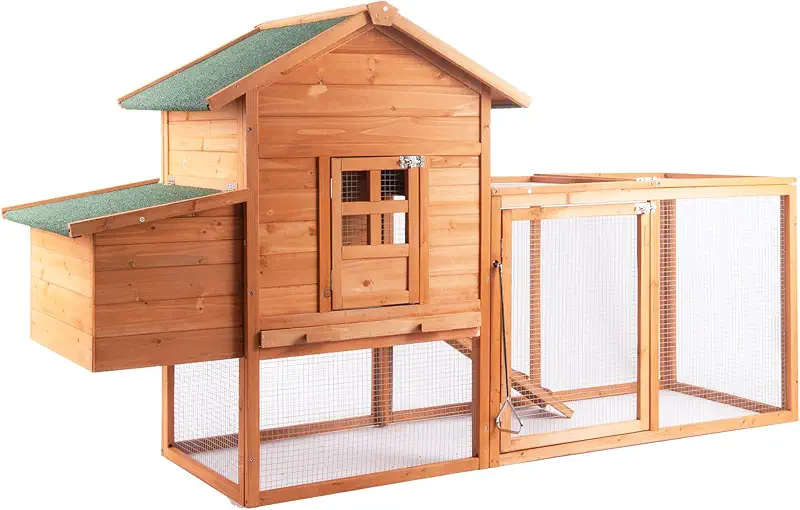
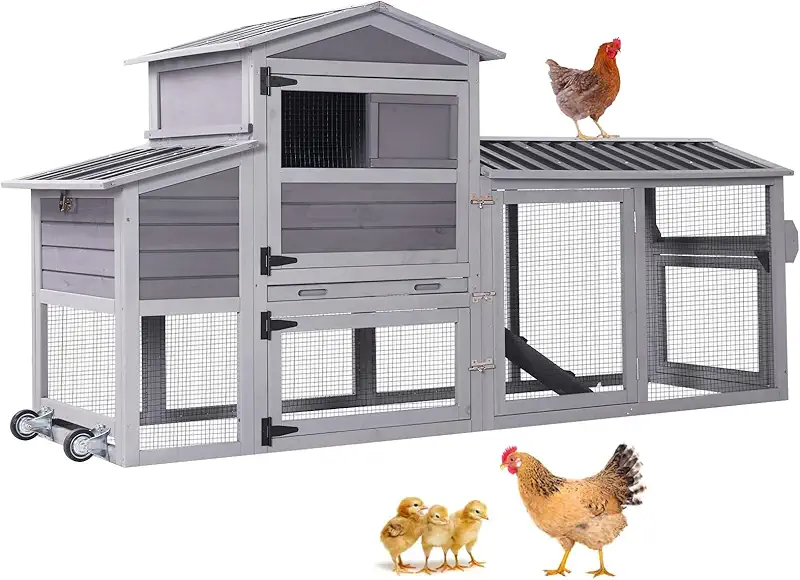
A wooden chicken coop kit can bring that same feeling into a small backyard, even if you have never held a hammer before. The boards are pre‑cut, the holes are drilled, the roof panels match. You do not need to be a carpenter. You only need a bit of time, a patient attitude, and a wish to give your birds a steady, dry place to sleep.
Over the years I have built coops from scrap wood, old doors, metal sheds, and finally several wooden kits. My hands remember every splinter and bent screw. The kits, when chosen well, have been the kindest to me and to the hens: less struggle, fewer gaps, and a cleaner layout inside. That is why I am happy to talk about them with you today.
What I look for in a wooden chicken coop kit
Before I bring anything onto my land, I imagine how it will feel at dawn in January and on the hottest day of July. A nice photo is not enough. A coop has to work in rain, heat, and wind, and it has to be easy to live with when you are tired after work. Here are the things I check again and again when I choose a wooden chicken coop kit.
- Enough space for each hen, not just the number on the box.
- Solid wood panels, not thin, soft boards that bend at a touch.
- Strong hardware cloth on the run instead of flimsy mesh.
- At least one wide clean‑out door you can reach through easily.
- Ventilation near the roof that stays dry in rain.
Real space, not just a pretty picture
Many kits promise space for “up to 8 chickens”. I smile when I read that. My hens would look at me with deep disappointment if I tried to put eight of them in some of those tiny houses. For sleeping space, I like to give at least 3–4 square feet per bird inside the coop, and more outside in the run. For my heavier girls, like the big red hens, I prefer even more.
A simple way to judge a wooden chicken coop kit is to picture yourself standing inside it for ten minutes with your birds. Could you turn around? Could you bend to fill a feeder? If the thought makes you feel cramped, your hens will feel that too.
Wood quality and weather resistance
I always run my hand along the boards when a new kit arrives. Good wood feels firm and dense, with few knots and no soft, crumbling spots. Thin, spongy panels will let in damp and cold, and they do not hold screws well. Over time, doors sag and gaps open, and foxes notice gaps long before we do.
Look for a wooden chicken coop kit with weather‑treated wood or at least the option to seal it with a safe, animal‑friendly stain. I like to give my coops a gentle coat every year, usually on a quiet autumn afternoon. I talk to the hens while I brush on the stain; they complain when I move their feeder, then forgive me when they see the fresh bedding.
Roosts and nest boxes that hens actually use
Hens are simple, but also particular. They like to sleep on a perch that is wide enough to rest their feet flat. Thin metal rods or narrow rails make them grip all night, and that tires them. I prefer roosts around 1.5–2 inches wide, with rounded edges.
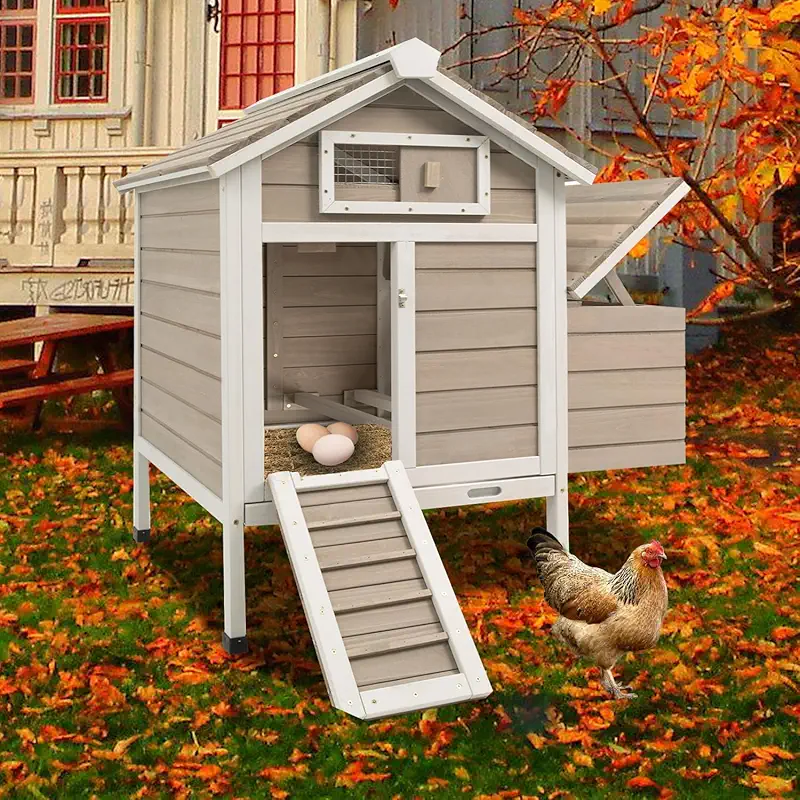
Nest boxes should be dark, quiet, and just a little bit snug. My best layers always choose the nest that feels like a safe pocket, not the one by the busy door. In a wooden chicken coop kit, I look for nest boxes that are raised off the floor, have a small lip to hold bedding, and can be reached from outside through a lid. That simple lid has saved my back many times on cold mornings.
My first wooden chicken coop kit: what went right and wrong
I still remember carrying the first long, flat box into the yard. The hens watched me from their old, drafty shed, tilting their heads as if to ask, “Is that for us?” I opened the kit on the grass, sorted the panels into neat piles, and breathed in the smell of fresh cut wood. I felt both excited and a little scared.
The instructions were kind, with simple drawings and numbered pieces. Even so, I made my share of small mistakes. I tightened one screw before checking if the panel was straight, and had to loosen it again. I put a roof panel upside down once. Still, in an afternoon, the shape of a real little house rose up in front of me.
That first night, I scattered a bit of grain on the new ramp and waited. Chickens are cautious creatures. They walked around the coop at least ten times before one brave hen stepped onto the ramp. The others followed her, muttering low, unsure sounds. By the third night, they were pushing past each other to reach their favorite roost spots inside.
- Have a small box for screws and hardware so nothing gets lost in the grass.
- Do a “dry fit” of big panels before you start tightening screws.
- Ask a friend to help hold the roof panels; it saves you a lot of wobbling.
- Seal the edges and screw holes before the first heavy rain, not after.
The only true mistake I made was underestimating how much I would enjoy that simple build. I thought it would be a chore. Instead, it became a calm, slow afternoon where every screw felt like a promise to my birds: “You will be safe here.” When I finally spread fresh shavings on the floor and closed the door, the whole coop felt like a warm wooden heartbeat in the yard.
Setting up your wooden chicken coop kit step by step
When you open a new kit, it can feel like a puzzle. Do not rush. Hens do not hurry through their day, and you do not need to hurry through their house. Here is the simple order I follow whenever I build a wooden chicken coop kit.
1. Choose the right spot
I start by just standing in the yard and listening. I look for a place that is slightly raised, not in a hollow where water will pool. A little morning sun is lovely for drying dew, but I like afternoon shade so the coop does not turn into an oven in summer. I also think about my own path: I will walk to this coop every day, in all weather, so I place it where my boots will not always be in deep mud.
2. Lay out all the parts
Before I pick up a screwdriver, I unpack everything and lay the panels out in order. I group the hardware by type: long screws in one spot, short in another, hinges and latches together. This small bit of order calms my mind. It is like raking the run before letting the hens out; starting from tidiness makes the day smoother.
3. Build the base and walls
The base of the coop is like the skeleton of a bird: if it is straight and strong, everything else falls into place. I follow the instructions closely for this part, checking that each corner is square. When the walls go up, the coop suddenly feels real. I always imagine where the hens will sleep and how I will reach in to change the bedding.
4. Add the roof and nesting area
Roof panels are usually the trickiest part to handle alone, especially on a larger wooden chicken coop kit, so this is where I am most grateful for an extra pair of hands. Once the roof is on, I seal any obvious gaps where wind or rain might sneak in. Then I attach the nest box section, making sure the hinges on the lid move smoothly. A sticky hinge at first will only get worse with time.
5. Secure doors, latches, and run
Predators are more patient than we are. Raccoons, foxes, even determined dogs will test every weak point. I like to upgrade latches on any coop kit to sturdy ones that need two motions to open. If the run panels use thin mesh, I replace it with strong hardware cloth along the bottom at least. The hens may never thank me with words, but I sleep better knowing the doors close firm and tight.
6. Prepare the inside for gentle living
Once the structure is done, I turn to comfort. I spread an even layer of dry bedding on the floor and in the nest boxes. I check that the roost bars are steady. I place the feeder and waterer where droppings will not fall into them from above. Then I sit for a moment on a low stool and just look. If the space feels calm and easy to move in, it is ready for the flock.
Keeping your wooden chicken coop kit strong for years
A coop is not just something you build and forget. It is more like an old barn jacket: it grows softer and dearer with care, and it serves you longer when you tend to its small worn spots. Wooden coops reward gentle, regular attention.
Weekly habits that keep hens healthy
- Scrape droppings from under the roosts so ammonia does not build up.
- Shake out damp bedding and replace it with dry shavings or straw.
- Open vents and windows for a few minutes, even in cool weather, to freshen the air.
- Run your hand along the walls and corners to feel for any dampness or drafts.
These small habits take just a few minutes but they prevent most health problems in a flock. Hens breathe close to the floor at night. Clean, dry air is a quiet gift we can give them again and again.
Seasonal checks for the wooden frame
In spring and autumn, I give each coop a slow, careful look, the same way I check an old fruit tree. I look at the joints, the bottom edges of the boards, the roof line. Where I see darkening wood or swelling, I sand lightly and reseal. If a screw has worked loose, I tighten it. If a hinge squeaks, I oil it with a few gentle drops.
Wood is honest. It shows you where it is tired, and it responds when you care for it. A sturdy wooden chicken coop kit, chosen well and tended calmly, can serve several generations of hens. Some of my older girls still sleep in the first kit I ever built, and I like knowing that the house has grown old alongside them.
Choosing the right wooden chicken coop kit for your flock size
One of the first questions people ask me is, “How big should my coop be?” I always answer with another question: “How many hens do you want, not just now, but in a few seasons?” Chickens are like stories. Once you start, it is hard to stop at just one or two.
If you plan to start with four hens, I gently suggest choosing a wooden chicken coop kit that could hold six to eight comfortably. Flocks grow. A friend might offer you a sweet rescue hen. You might fall in love with a speckled pullet at the farm store. A little extra room now saves you from rushing into a second coop later.
For small city backyards, I favor compact kits with a built‑in run and a raised sleeping area. For country yards, I like longer runs that let birds stretch their legs while staying safe. Whatever the style, I refuse to squeeze animals. Watching hens move freely, wings slightly out, is one of the simple joys of keeping them.
FAQ about choosing a wooden chicken coop kit
Numbers on the box are usually optimistic. If a kit claims space for six hens, I think of it as comfortable for three or four, especially for larger breeds. Aim for at least 3–4 square feet per hen inside the coop, plus a generous run area. Your birds will be calmer, cleaner, and far less likely to peck each other when they have space to move.
Yes, if your climate is moderate and you set it up with care. Chickens tolerate cold better than damp. Focus on keeping the coop dry and draft‑free at roost height, while still allowing ventilation near the roof. I add extra dry bedding in winter and block direct drafts, but I never seal every vent. My hens have stayed healthy through many frosty nights in well‑built wooden coops.
Most backyard‑sized kits take one relaxed afternoon for two people, or a full day if you are working alone and taking your time. The first kit always feels slower because you are learning the rhythm of the instructions. I prefer to build on a day without hurry, with a thermos of tea nearby and the hens wandering curiously around my tools.
Usually, no. A basic screwdriver or drill, a small wrench, and sometimes a simple hammer are enough. Most wooden chicken coop kits are designed for beginners. The main tool, truly, is patience. Reading the manual fully before starting saves you more time than any fancy gadget. I like to keep a pencil in my pocket to mark panels and a small level to make sure doors hang straight.
After I assemble a new coop, I go around it at dusk and imagine I am a fox. I check every corner, every latch. I often add an extra sturdy latch to the main door, replace thin wire with hardware cloth along the bottom of the run, and bury a small apron of wire around the edges to stop diggers. These small upgrades turn a simple wooden chicken coop kit into a much safer night shelter.