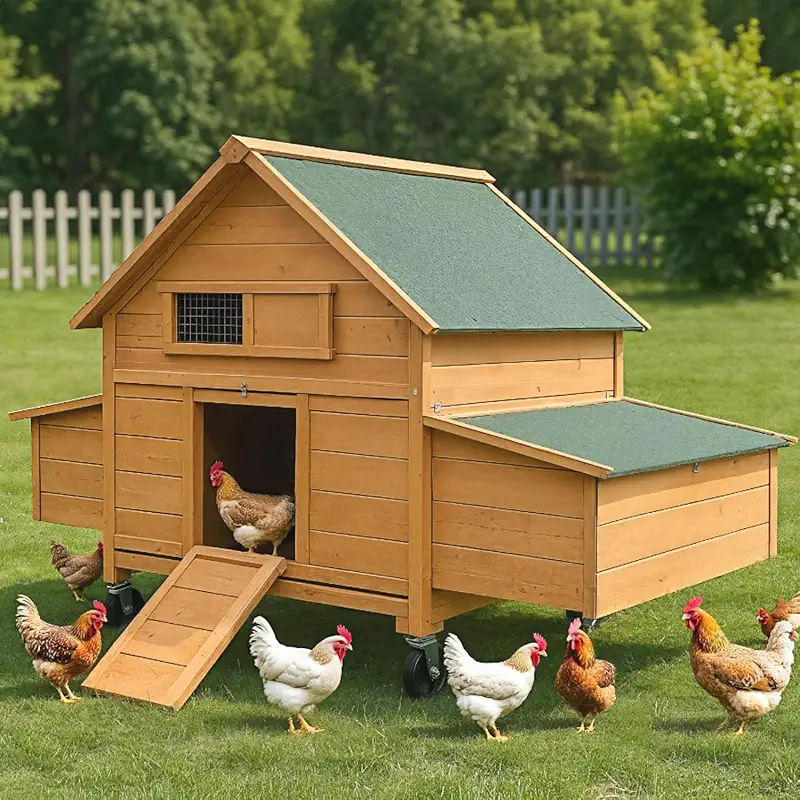
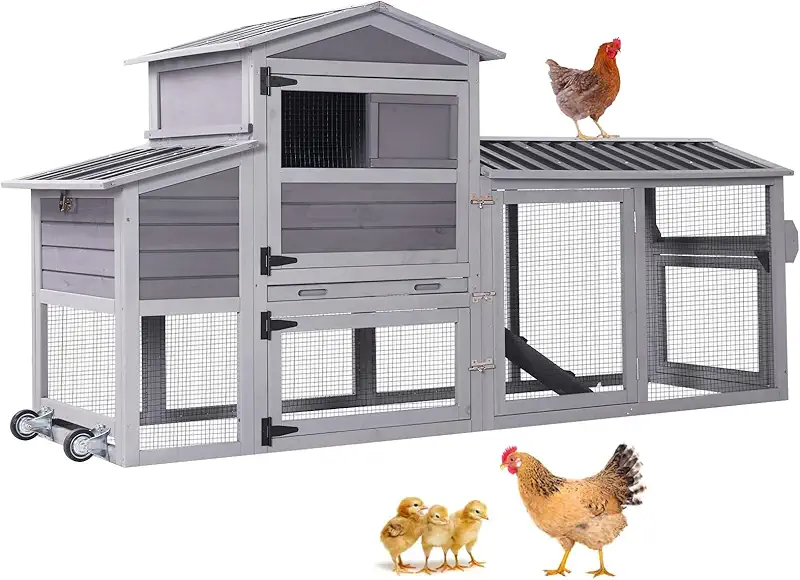
Diy wooden chicken coop
Diy wooden chicken coop
From a gentle chicken keeper
When I built my first diy wooden chicken coop, I had more love than skill in my hands.
The walls were a little crooked, the door squeaked, and the roof let in a thin line of light.
But my hens stepped inside, fluffed their feathers, and settled as if they had always been home.
Over the years I have tried many wooden coops, from simple hutches to roomy walk-in barns.
I learned where hens like to sleep, how they like to breathe, and what really keeps them safe at night.
On this page I want to share those lessons with you, in simple words, like two neighbors talking over a fence while the chickens scratch nearby.
A diy wooden chicken coop is more than a weekend project. It is a promise you make to your flock:
“You will be dry, warm, and safe here.” Wood is gentle, it ages with your birds, it smells like barns and quiet mornings.
Whether you want to build everything from raw boards or start from a ready-made wooden coop and adapt it,
the heart of the work is the same: listening to what your hens need.
I will walk you through how I plan a coop, what I watch for in the wood, and where I like to use
pre-made coops or accessories to save time and frustration. I will also show you several wooden coop ideas
that you can use as a base and then adjust to your yard and your birds.
How many hens, how much heart: planning your diy wooden chicken coop
Every coop I build starts at the same place: how many hens, and how do I want them to feel inside.
Numbers matter, but feelings matter too. Hens hate crowding. They like to move without bumping into each other,
to hop up on a perch without landing on someone’s head.
As a gentle rule, I aim for around 4 square feet of indoor space per hen for standard breeds,
and at least 8 to 10 square feet of run space. So for 4 hens, a 4x4 ft house with a 4x8 or bigger run feels calm and easy.
For 8 hens, I raise it to something like 4x8 ft indoors with a long, airy run.
Quiet planning tip
Sit in the place where you want to build the coop for a few minutes on a still day and on a windy day.
Notice where the sun comes from, where the wind bites, and where the ground holds water.
Your coop will feel better if you position doors and windows with those things in mind.
I always ask myself three soft questions before I sketch a new diy wooden chicken coop:
- Can I clean it without crawling on my knees in the mud?
- Will the hens have dry feet after days of rain?
- Can I reach every scared hen in an emergency, quickly and gently?
If the answer to any of these is “no”, I change the plan.
Wood, roof and floor: choosing the bones of your coop
A diy wooden chicken coop can be built from rough lumber, repurposed pallets, or a pre-cut wooden coop kit.
I have tried all of them. The secret is not perfection. The secret is dry, steady, and safe.
What kind of wood works well
My favorite coops are made from solid softwoods, like pine or fir, with decent thickness.
Thin decorative wood looks pretty in photos but can warp and soften after a couple of winters.
When I look at ready-made wooden coops, I pay attention to how firm the walls feel and how they are joined.
Pressure-treated wood for the base can help against rot, but I keep it away from the parts the hens can peck or sleep on.
For floors and perches that touch their feet, I prefer simple untreated boards, well dried and sanded smooth so combs and feet do not catch.
Gentle wood check
Rub your hand slowly along every perch and edge before the birds move in.
If your skin catches, your hen’s foot will too. A few minutes with a piece of sandpaper can prevent a painful splinter or a torn footpad.
Roof: keeping the rain at the door
A simple sloped roof is enough if you get the basics right. I prefer a roof that opens,
either on hinges or with a removable panel. It makes cleaning much calmer and gives me quick access
if a hen is sick or hiding.
Many wooden coop kits already have a good roof system. Sometimes I only add a thin extra layer,
like shingles or waterproof panels, for our heavy rains. It is easier to improve a ready roof than to build one from nothing,
especially if you are just starting.
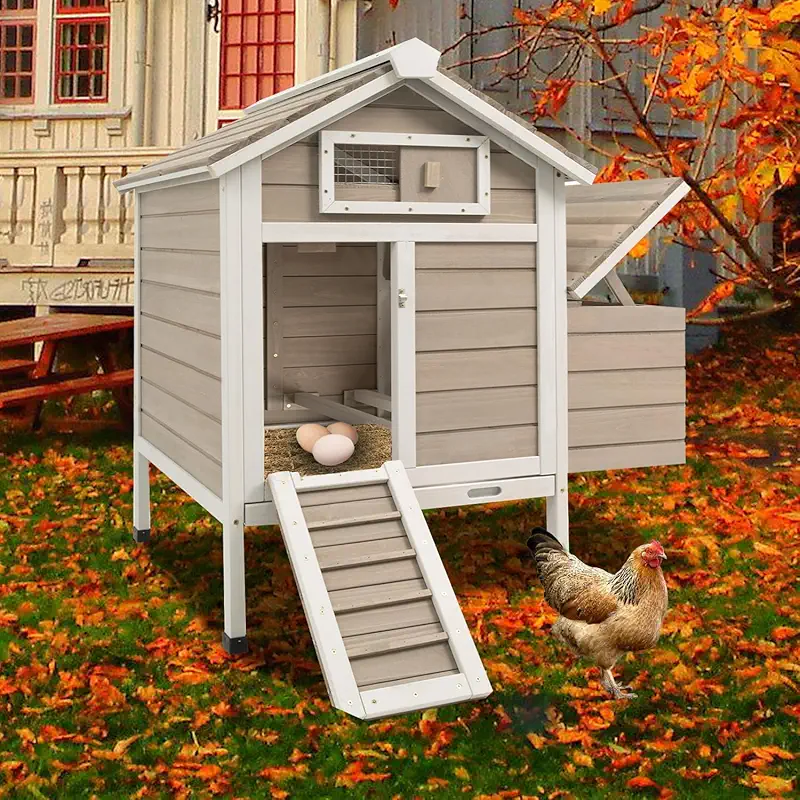
Floors: raised, dry, and easy to clean
A raised wooden floor is kind to your flock. It keeps them away from cold wet ground and makes it harder for rats and other visitors to dig in.
I like a floor high enough that I do not have to bend too much to rake out the bedding.
Many of the smaller wooden coops you can find are already raised.
If the one you love is a bit low, you can often place it on sturdy blocks or a simple wooden platform you build yourself.
This is a nice middle way for a diy wooden chicken coop: use a prepared coop and then adapt the base to your body and your soil.
Light, air, and safety: what your hens quietly ask for
Chickens do not write lists, but if they could, their wishes for a diy wooden chicken coop would be simple:
“Let me breathe, let me see the morning, and please keep the teeth away from my door.”
Ventilation without drafts
Hens breathe out a lot of moisture. In a wooden coop, that moisture can collect and make the air heavy
and the bedding damp. Damp air invites frostbite in winter and smell in summer.
I always place ventilation high, above the level of the roosts, usually as narrow openings under the eaves,
covered with strong wire mesh. This lets warm, moist air rise and slip out while the hens stay in the calm air below.
Windows and doors
A small window facing the morning light is like a soft alarm clock for the flock.
It also helps me see inside without turning on a light. I like windows that open and are covered with hardware cloth
so that on warm nights the coop can breathe even more.
Safe opening habit
When you design doors for your diy wooden chicken coop, think about your tired self on a rainy night.
Simple, sturdy latches that you can open and close with cold fingers are far better than clever
systems that jam when you are in a hurry.
Predator protection
Over the years I have met foxes, raccoons, dogs, rats, and even a determined owl.
All of them admired my hens for the wrong reasons. A good wooden coop stands like a small barn against them.
- Use hardware cloth, not thin chicken wire, for openings and lower walls.
- Lock the pop door with a solid latch that a raccoon cannot twist open.
- Consider a small “apron” of wire at the base of the run, buried or laid outward to stop digging.
If you choose a ready-made wooden coop as your base, many of these protections can be added later.
A couple of calm afternoons with wire, staples, and a good pair of gloves can turn a simple coop into a safe fortress.
Three friendly ways to create your diy wooden chicken coop
Not every pair of hands wants the same project. I have friends who love cutting every board,
and others who want something that arrives in a box and is ready after one cup of tea.
All of them are good chicken keepers.
1. Build from raw lumber
For patient hands and big ideas
This is the full diy wooden chicken coop path. You draw the plan, measure the boards,
and listen to the saw. It takes time, but it gives you complete freedom.
- You choose every dimension and detail.
- You can match the coop to odd corners of your yard.
- You learn deeply how your coop is put together.
When I take this route, I still like to use ready parts for things like nest box inserts,
feeders, and sometimes even pre-made doors. It saves my patience for the parts that matter most structurally.
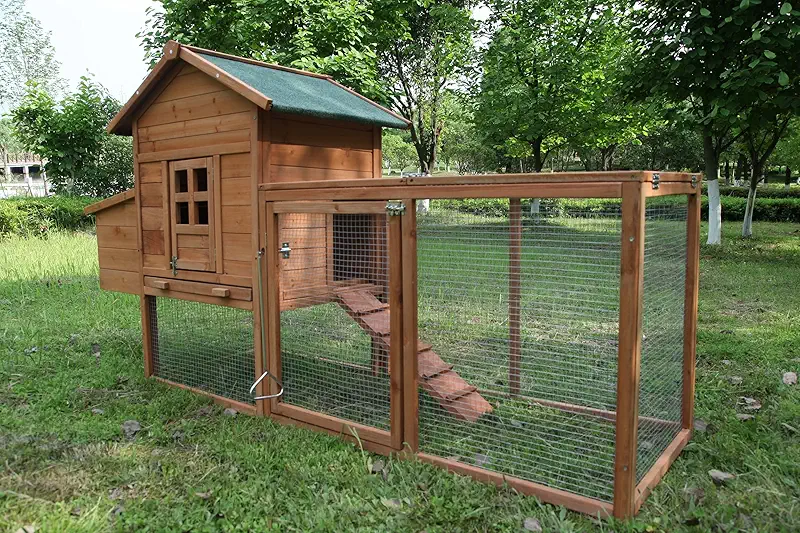
2. Start from a wooden coop kit
For gentle projects and busy weeks
Many of my neighbors have beautiful coops built from kits. They chose a wooden coop close to what they needed,
built it in an afternoon, and then slowly improved it over time.
- Faster first result, less measuring and cutting.
- Good if you are new to tools or short on weekends.
- Easy to combine with your own run, base, or extra nesting space.
This path feels very friendly. You still get the joy of diy, because you adapt,
paint, and add features, but the most complex joints are already done.
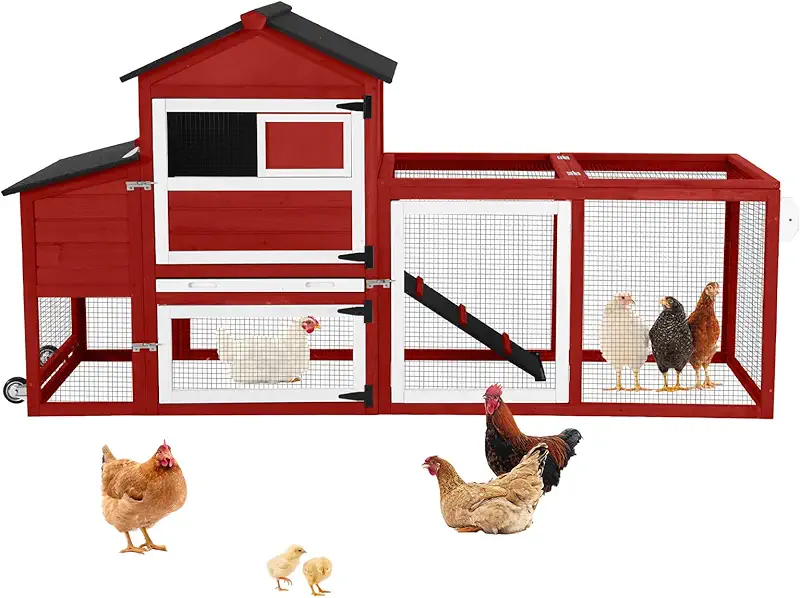
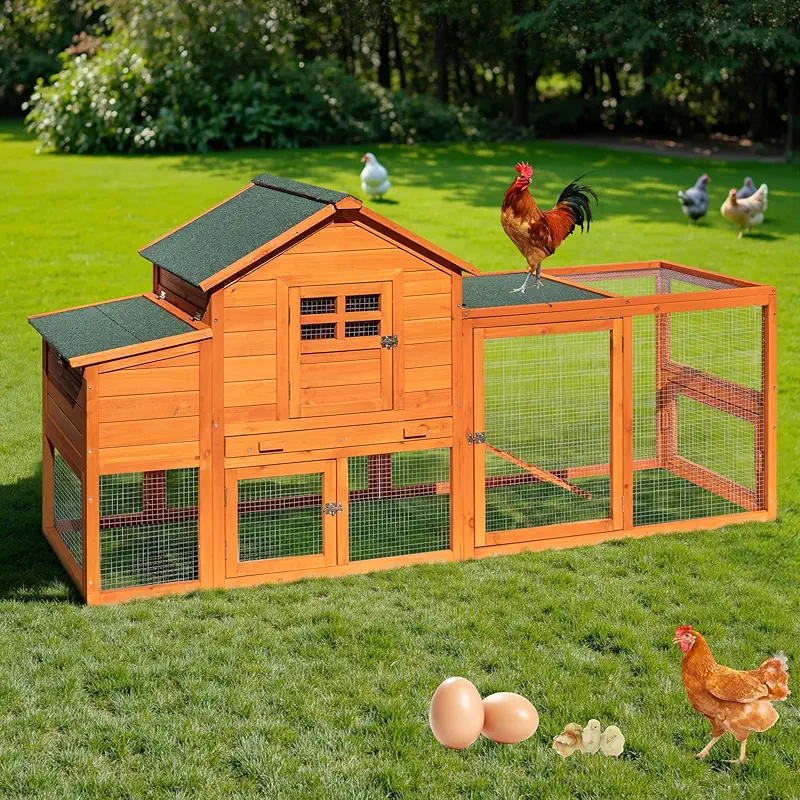
3. Blend a small coop with a custom run
For flexible flocks and growing yards
One of my favorite setups is a modest wooden coop attached to a large, sturdy homemade run.
The coop can be from a kit, while the run is simply posts, wire, and a roof you design yourself.
- Easy to expand when you add more hens.
- Lets you give more space without rebuilding the house.
- Good for gardens where you want to protect plants.
If you think your flock may grow, this blended approach is kind to your future self.
You can start small and then stretch the run like a gentle fence as the birds and your courage grow.
Inside the coop: perches, nest boxes, and daily comfort
Inside a diy wooden chicken coop, small details shape your hens’ quiet happiness.
Where they sleep, where they lay, and how easy it is for you to clean all make a big difference.
Perches they truly enjoy
Hens like to sleep above the ground. I use perches made from smooth wooden boards or rounded edges,
about the width of two or three fingers. Too thin and their toes curl too much, too wide and they lose their grip.
Place the perches higher than the nest boxes, or the hens will sleep in the nests and fill them with droppings.
I leave enough space between perches so they can fluff their wings without bumping into each other.
Nest boxes that feel safe and private
For every three or four hens, I like at least one nest box. But even with four boxes,
they may all choose the same one, often the darkest corner.
That is why I design nests that feel like small wooden caves: quiet, a bit dim, with soft bedding.
Kits often have external nest boxes that open from the outside. That makes egg collection a joy,
especially on cold mornings. If you build your own, you can copy this idea easily:
a box attached to the wall, with a lid that lifts from the yard side.
Cleaning and bedding
A diy wooden chicken coop stays pleasant when cleaning is easy.
I love removable trays or floors I can rake out in one smooth movement. Many wooden coops now include dropping trays;
if they do not, you can often add a simple sheet of plywood or metal under the perches.
Small cleaning ritual
I keep a bucket, a brush, and a spare pair of gloves close to the coop.
Every few days I take five calm minutes to remove the worst droppings and stir the bedding.
This little ritual keeps the coop sweet and lets me notice changes in the flock early.
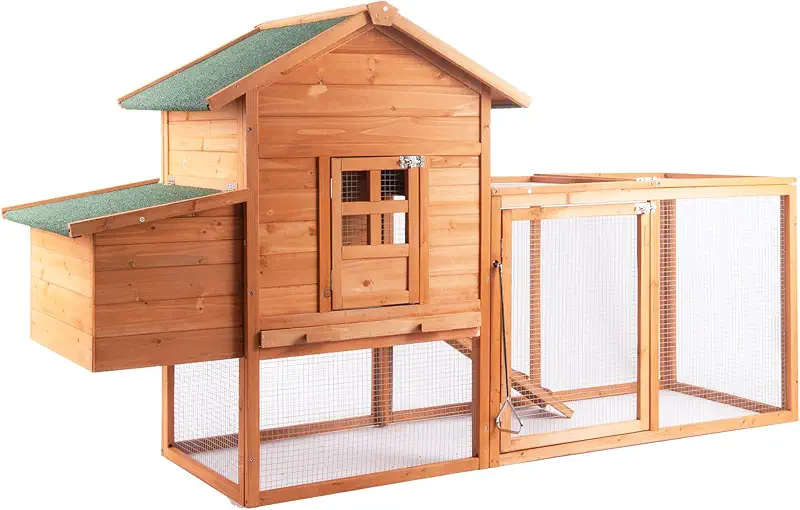
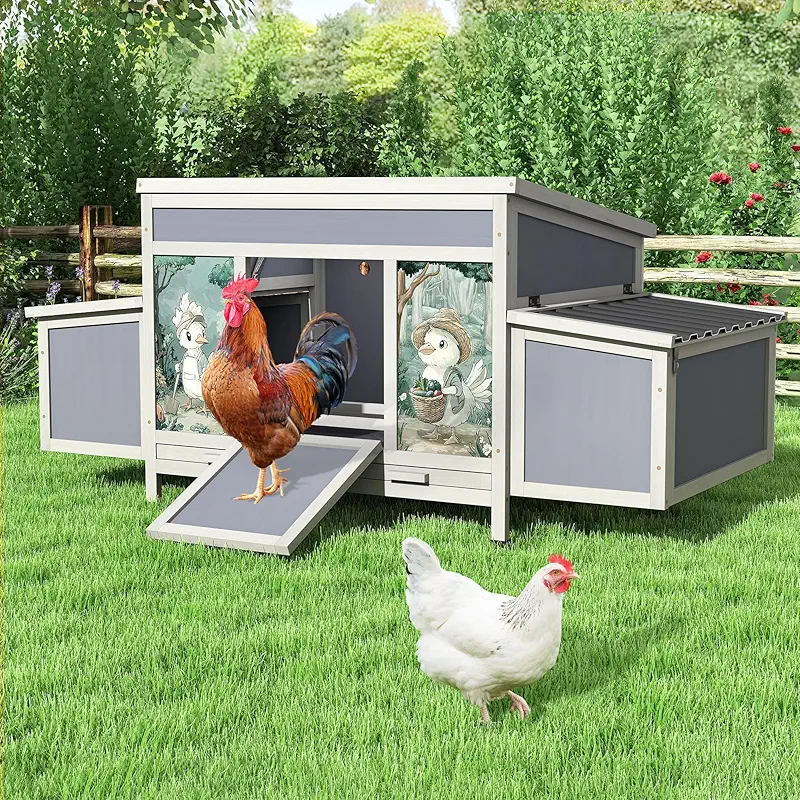
Adapting ready wooden coops for your diy project
Many people feel torn between building a full diy wooden chicken coop and choosing a ready-made one.
You do not have to choose sides. A small wooden coop from a trusted source can be your starting point,
and your hands give it the final soul.
When I bring home a new wooden coop, I usually:
- Seal the roof and outer joints where I see thin gaps.
- Add extra screws in long panels to make them more solid.
- Replace weak latches with stronger ones that I trust.
- Measure the actual floor space to know my true hen capacity.
These small acts turn a simple product into a personal shelter made with care.
The hens do not know whether the first screw was turned in a factory or in your yard.
They only know if the wind is kind and the floor is dry.
Living with your coop: seasons, weather, and quiet checks
A diy wooden chicken coop is not finished when the paint dries.
It changes with the seasons, with the weight of snow, with the angle of the summer sun.
I walk around my coops often, sometimes with a mug of tea, just looking and listening.
In winter I check for drafts at bird level with the back of my hand.
In summer I watch how quickly the inside warms up and whether the birds prefer to stay in the run.
These observations guide small changes: a new vent here, a shade cloth there, an extra layer of bedding.
If you live in a place with strong winters, consider extra insulation on the north wall
or a simple windbreak near the run. In hot areas, shade and airflow are more important than thick walls.
Wooden coops are forgiving: you can always add, adjust, and grow with your flock.
Quiet evening check
Every few nights after dark, I open the coop softly and look at the hens on the roosts.
If they are spread out, breathing calmly, and their combs are warm but not hot, the coop is doing its job.
Their comfort tells the truth better than any drawing.
FAQ about diy wooden chicken coop projects
How many chickens can I keep in a small diy wooden chicken coop?
For most backyard flocks, a truly small diy wooden chicken coop, around 4x4 ft of indoor space,
is comfortable for 3 to 4 standard hens if they also have a run outside.
I prefer to stay on the generous side: a little extra room makes cleaning easier and keeps pecking calmer.
If you are unsure, plan the coop as if you already had one more hen than you do today.
Is a wooden coop warm enough for winter?
Yes, a well-built diy wooden chicken coop can be safe and cozy in winter, even without heavy insulation.
The key is dryness and lack of drafts at roost height. Hens wear feather coats and cope with cold better than damp air.
I close some vents in the coldest weeks but always leave enough high ventilation so moisture can escape.
Deep, dry bedding and a solid roof help more than thick walls alone.
How hard is it to build a coop if I have little tool experience?
With a simple plan or a wooden coop kit, many people manage their first coop in a weekend,
even with modest tool skills. Start with basic tools and take your time.
If cutting feels scary, you can lean on ready-made wooden coops and focus your diy energy on the run,
the base, and small improvements like better latches and extra roosts.
How do I protect a wooden coop from rot and weather?
Lift the coop off the wet ground, give it a small roof overhang, and use a safe wood treatment on the outside.
I repaint or reseal exposed surfaces every few years, more often in harsh climates.
Check corners and lower boards after heavy rain.
Catching a soft spot early means a quick repair instead of a full rebuild later.
Should I build a coop bigger than I need now?
Many of us quietly add “just two more hens” after the first year.
If you think that might be you, plan your diy wooden chicken coop with some growth in mind.
Either build a slightly larger coop now or design it so you can extend the run easily.
Your future self will thank you on the day a new little flock of pullets arrives and already has space waiting.